Showing posts with label kids. Show all posts

Thursday, September 11, 2014

My Birthday Boy

 
First off a big happy birthday to my Little Big Sis - Martha! I love you and I miss you!!! Hugs and kisses!!!
 
 I have been having fun create my own card designs instead of CASEing other peoples (which don't get me wrong is great but it is satisfying making my own!)I am looking forward to sharing a number of my original designs!
 
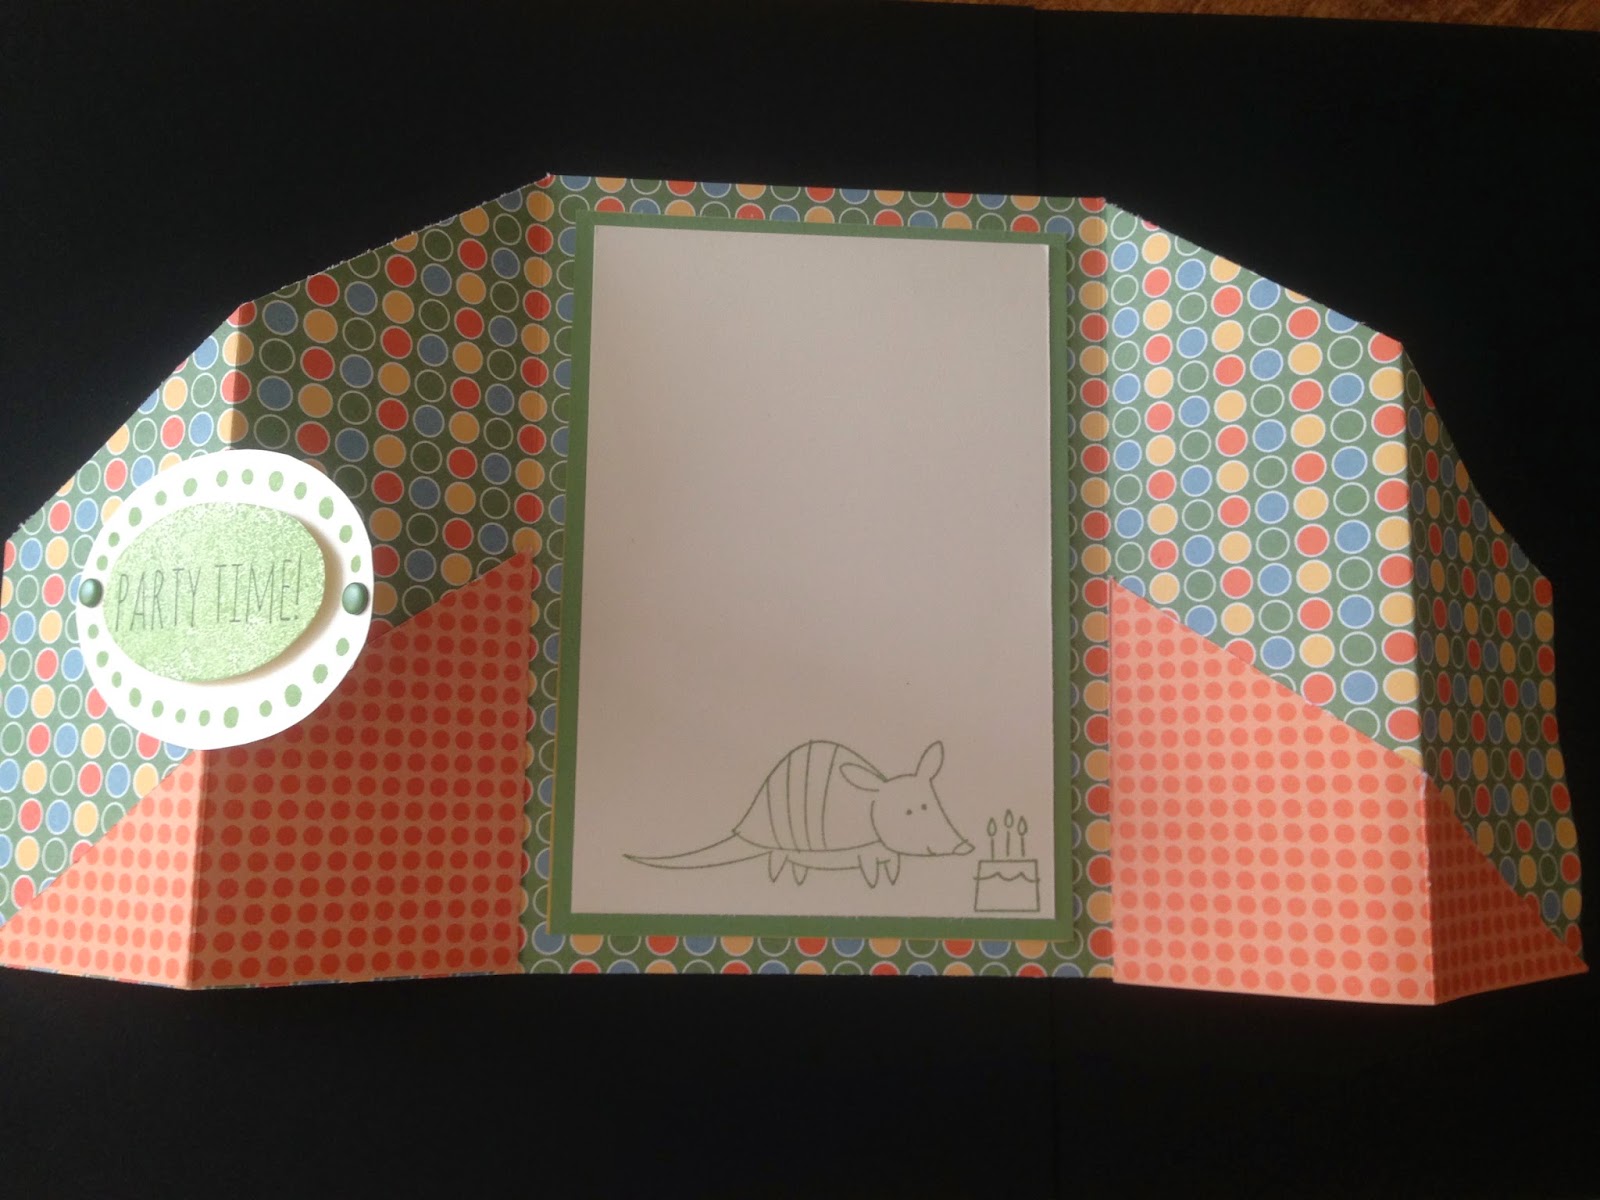
 I made this card for my oldest son who turned 7 yesterday. Can you guess what he loves??
It was quick and easy and the "hardest" part was putting the circles on the Lego pieces. I cute card for a very cute boy!

Dee-Litefully Yours,
Diana

Monday, August 25, 2014

Cutie Birthday

Quick post today guys. This is an other card from Lillian Kemp - man does she ever do such clean crisp cards doesn't she? The tone on tone is just beautiful and makes the sentiment pop that little bit more. I love how she rounded two of the corners to change it up a bit - why have I never thought of this?
The Blendabilities were pulled out again here too. Looks great.

I should be getting my first set this week too - so once I have played around with them I will post some tips and tricks!

DeeLitefully Yours,
Diana

Friday, August 22, 2014

Fun Fold Friday - Lets use some DSP

I am back with an other Fun Fold Friday!I have been having trouble using my DSP as I just don't know what to do with it, so I have made it my goal over the next few months to use up a bunch of my DSP and with cards like this that won't be hard! I have lots of pictures today so lets get to it!
  • DSP cut at 5 1/2 X 12
  • score at 2, 4, 8 and 10
  • fold in at the 4 and 8" marks and then fold back out at the 2 and 10" marks
  • open up the card and measure down 2 3/4" from the top of the card along the outside edges
  • cut from the top of the 4 and 8" marks to where you marked on the outside edge, save your scraps
  • add your outer oval tab and sentiment (I used my new High Five stamp set for this one) and I embellished with candy dots (love those things!)


  • glue your scraps to the inside of the card, see above, this gives the card more stability when it is standing up and adds some fun to the inside *because it is already scored it will fold easily too


  • cut your inside background  3 1/2 X 5 and your Whisper White 3 1/4 X 4 3/4
  • stamp your images and you are done!
Isn't it cute? And really not that hard at all! Have fun with it and enjoy your weekend!
 
Dee-Litefully Yours,
Diana
 

Thursday, August 21, 2014

Star Buddy

This card was given to me by an other stamper, Lillian Kemp and how cute is it! I love the white with Bermuda Bay and Crushed Curry - it is so clean and simple.
You will notice that she used the new Blendabilities on the dino character and just look at all that depth! He looks like he could just jump right of the page!

Thanks Lillian for an other great card!

DeeLitefully Yours,
Diana

Friday, August 15, 2014

Fun Fold Friday with a Twist

Fun Fold Friday again but this time with a twist, this isn't really a new fold but it is new idea for making a involved card! Todays card was CASEd from demonstrator Lillian Kemp. It is such a cool card and I am super excited to share it with you all today! This card takes a bit more time and finiky work - just to get the circle punches placed properly. A ruler was my friend for this card!
  • My card base is Pool Party (love the soft feel of this colour!) Whisper white background cut at 5 3/8 X 4 1/8, then Flashback DSP (again I know!) 5 1/4 X 4, stick all these layers onto the front of the card
  • You will now want to use your ruler to figure out how far down you want the circles to be - this is all personal choice then punch out using your 1 3/8" circle
  • Also punch out three additional 1 3/8' circles of Pool Party
  • on Whisper White I stamped my Dinoroar stamp set (again retired sorry but my little Evan loves Dinos and I know a lot of other kids that do too!) but Little Buddy Birthday is works great too (page 89 Annual catalogue)
  • once you have them stamped punch them out with your 1 1/4" circle punch and stick them on the 1 3/8" Pool Party pieces
  • to place the dinos in the correct spot on the inside of the card I closed the card and placed a pencil mark where my circles were then I stuck the stamped image on that mark
  • make a flag with your sentiment on it and add a few candy dots and you are done!
This card did take a bit more time than usually (and by a bit more time I mean about 5-10 more minutes) but it was completely worth it!

Dee-Litefully Yours,
Diana
Diana

Wednesday, August 13, 2014

Happy Birthday Cutie

With todays card I just started playing with paper and this card took shape, I loved it so much that I had to make it in two versions so I thought why not a "boy" card and a "girl" card. I love, love, love how they turned out so lets get to it!
  • Background colour cut at 5 3/8 X 4 1/8 and I scalloped the bottom edge
  • Lullaby DSP was cut 5 X 4, I stamped a few balloons on the DSP with the same colour as my background
  • I used an other piece of Lullaby DSP 4 1/4 X 2
  • A 2 1/2" circle was punched out in then the image was stamped using the Little Buddy Birthday and then punched out with the 1 3/4" circle punch
  • Ta da you are done! A great card for a little friend!
Dee-Litefully Yours,
Diana